
Quick Stats of the Project
- Category: 30-Minute Project
- Difficulty: 2/5 (Requires steady hand-eye coordination)
- Tools: Replacement screen mesh (fiberglass is easiest), screen spline (rubber cord), spline rolling tool, utility knife, and a small flathead screwdriver.
A torn window screen isn’t just an eyesore; it’s an open invitation for local insects and debris to enter your home while obstructing your view and airflow. Replacing the mesh yourself is a high-reward DIY that restores your home’s “curb appeal” and keeps your interior pest-free for less than the cost of a single takeout meal.
Step-by-Step Instructions
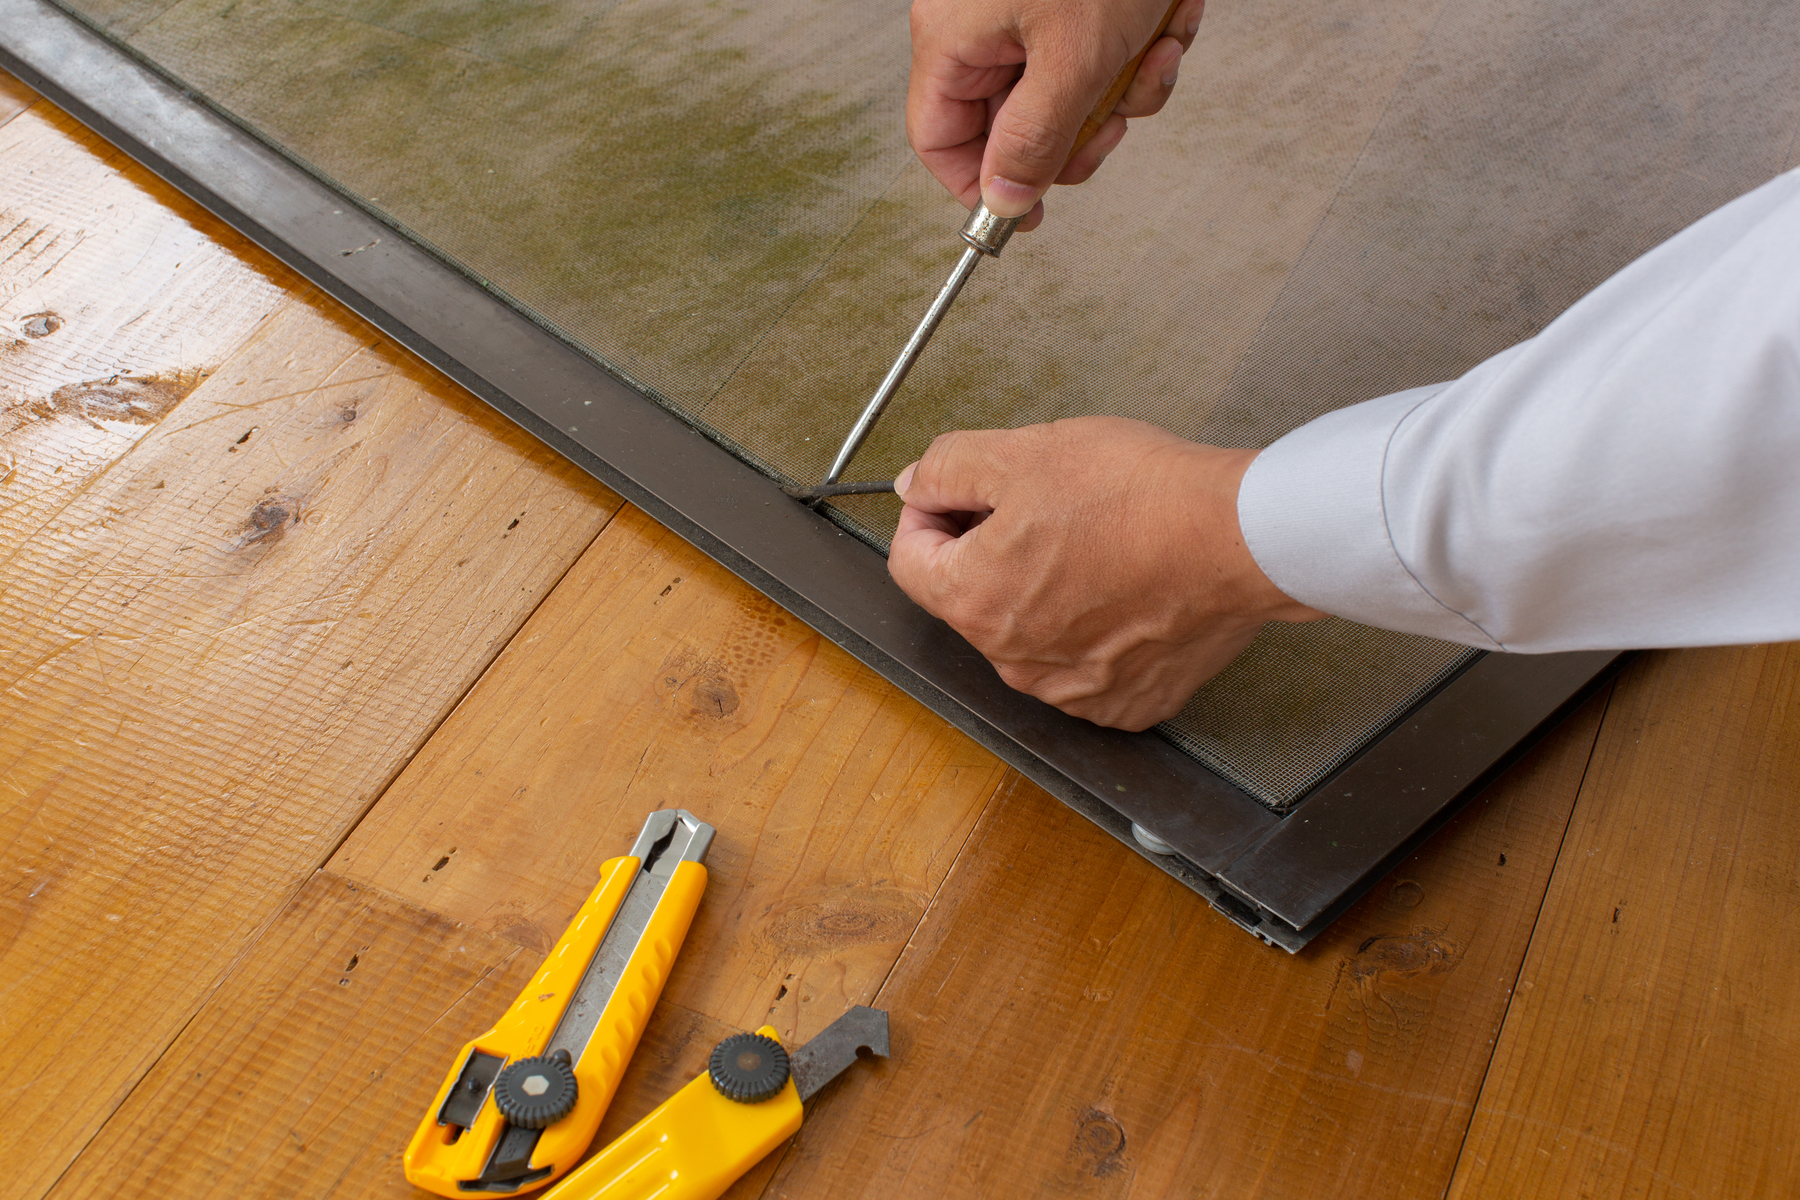
Step #1: Extract the Old Spline
Place the screen frame flat on a stable surface like a driveway or a large table. Locate the end of the “spline”—the black rubber cord that holds the mesh in place. Use a small flathead screwdriver to pry up the end of the cord, then pull the entire strip out of the groove and discard the old, torn mesh.
Step #2: Clean the Frame Channel
Before installing the new mesh, run a damp cloth or an old toothbrush through the empty frame grooves. Dust and grit accumulate here over years of exposure to the elements; a clean channel ensures the new spline seats deeply and creates a professional, drum-tight finish.
Step #3: Overlay and Prep the Mesh
Roll out your new screen mesh over the frame. Ensure the mesh overlaps the edges of the frame by at least one inch on all four sides. Do not try to trim it to the exact size yet—the “overage” is necessary to give you enough material to grip and pull taut during the rolling process.
Step #4: Roll the New Spline
Start at a corner. Use the “concave” end of your spline rolling tool to push the rubber cord and the mesh into the frame groove. Work your way around the perimeter, using your non-dominant hand to keep the mesh flat. Avoid pulling the mesh too tight, or the aluminum frame may “bow” inward.
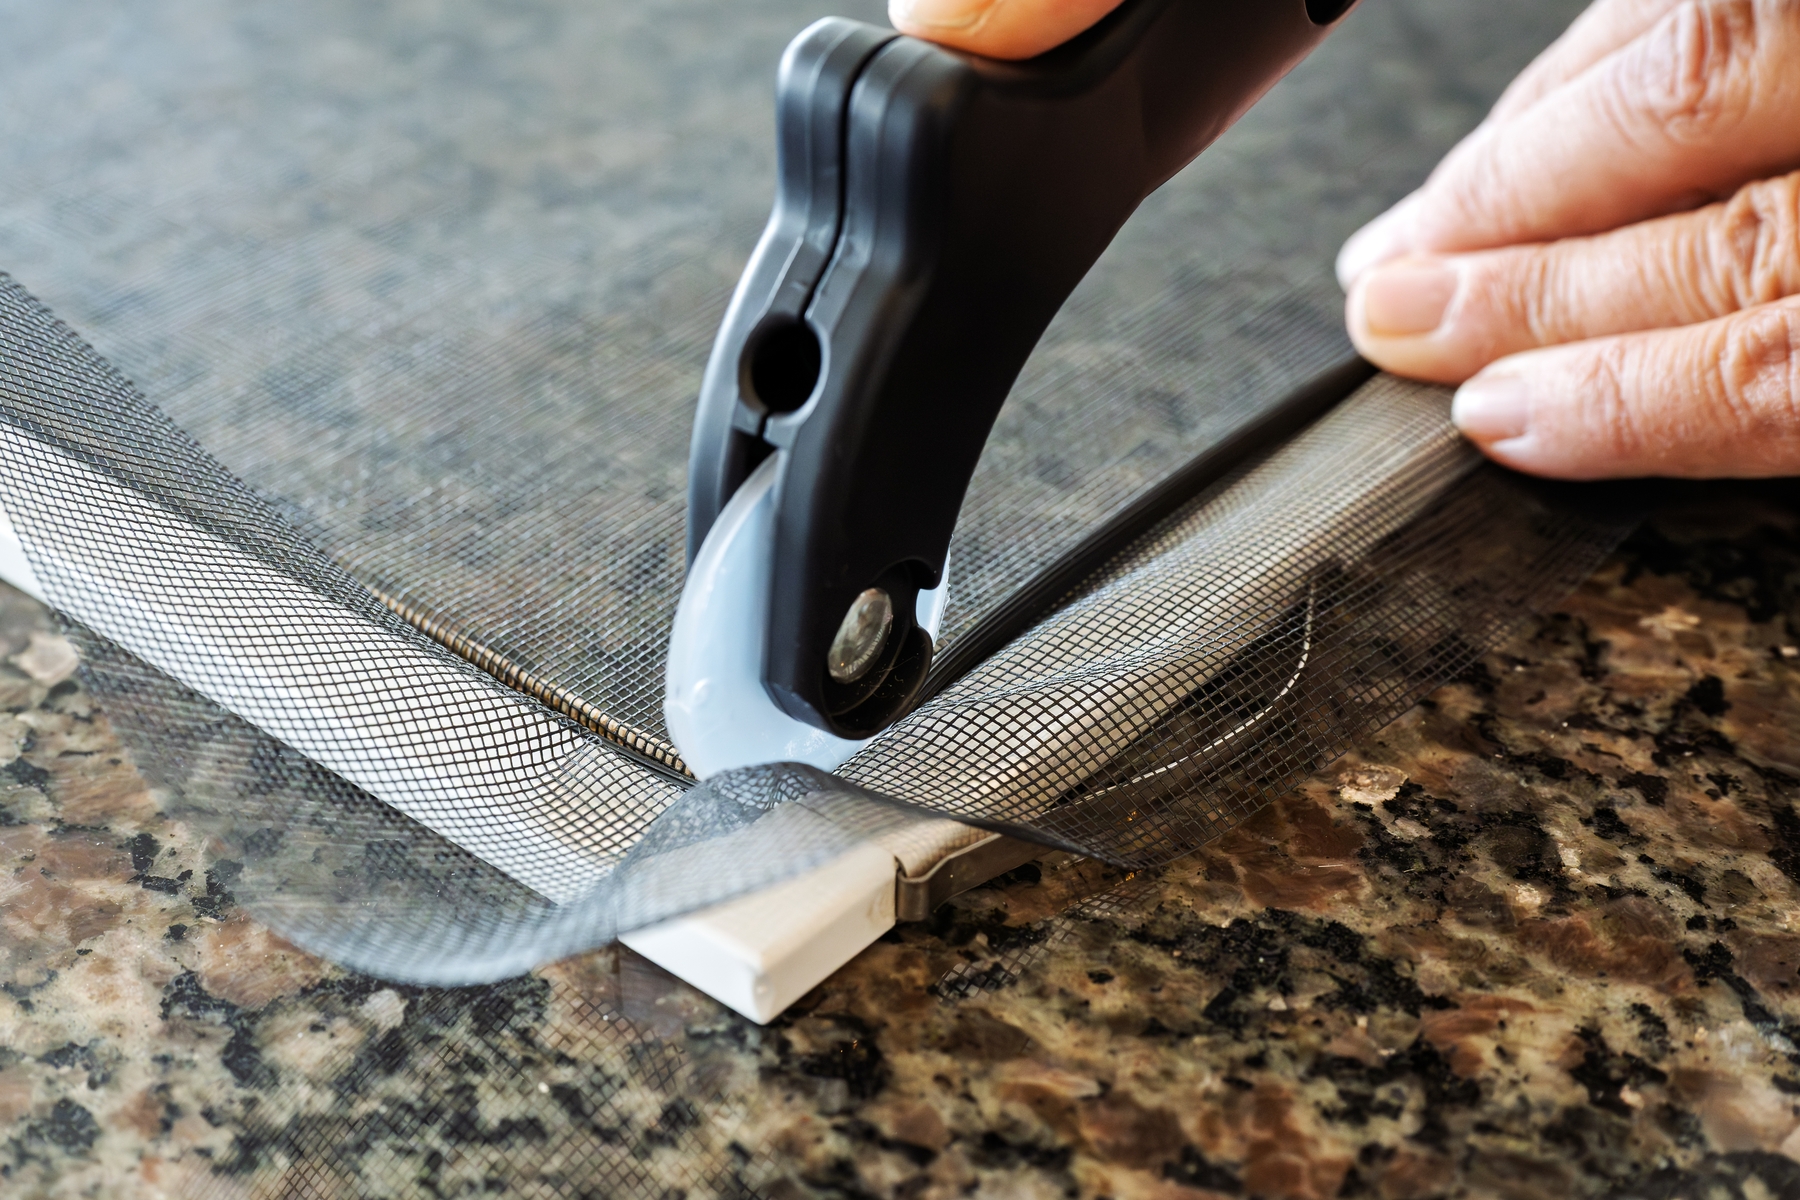
Step #5: Trim the Excess
Once the spline is fully seated around all four sides, use a sharp utility knife to trim the extra mesh. Place the blade against the outside edge of the spline and cut away from the center. Be careful not to nick the spline itself, as this can cause the screen to unravel over time.
Pro-Tip: The “Opposite Side” Tension Secret
To avoid a wavy or sagging screen, always roll the spline into two opposite sides first (e.g., top and then bottom). This allows you to check the tension across the middle before you commit to the vertical sides. If the screen looks too loose, you can easily pull the spline out and restart before the cord “sets” into the groove.