


Quick Stats of the Project
- Category: Weekend Project
- Difficulty: 3/5 (Time-intensive)
- Tools: Pressure washer (or stiff scrub brush), wood cleaner/restorer, orbital sander (80-grit), exterior stain or paint, and large drop cloths.
A wooden fence is a major architectural element, but because it’s constantly exposed to UV rays and ground moisture, it can turn grey and brittle in just a few seasons. Rejuvenating your fence isn’t just about “curb appeal”; it’s a vital maintenance task that prevents rot, strengthens the wood fibers, and adds years to the lifespan of the structure for a fraction of the cost of replacement.
Step-by-Step Instructions
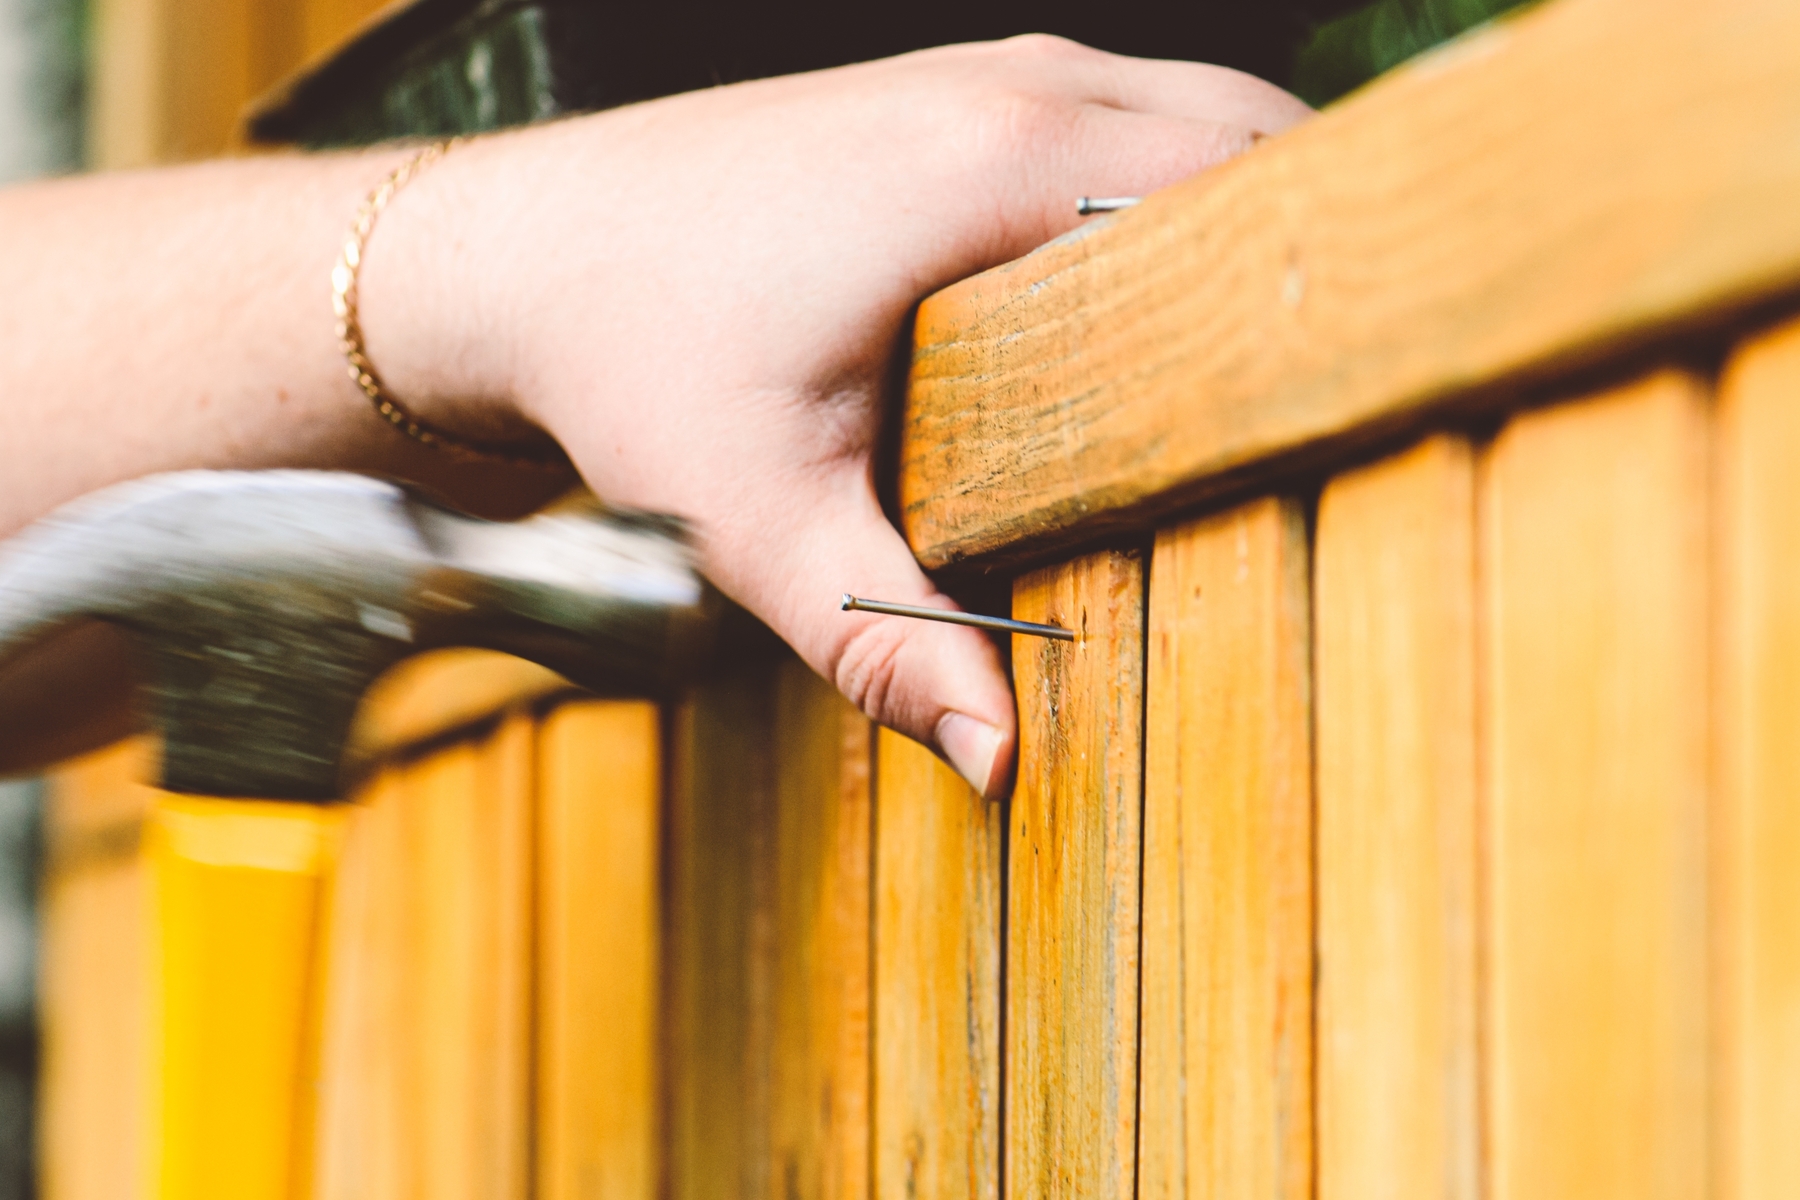
Step #1: The Structural Audit
Before you clean, you must inspect. Walk the entire line and check for “ground contact” rot at the base of the posts. Tighten loose screws and replace any boards that have warped or split significantly. If a post wobbles, now is the time to reinforce it with a metal spur or extra concrete before you commit to the aesthetic work.
Step #2: The Chemical Deep Clean
Apply a specialized wood cleaner or a “brightener” to the dry wood. These chemicals break down the silver-grey “dead” wood fibers and kill deep-seated mildew spores that a pressure washer alone might miss. Let it sit for 15 minutes, then scrub with a stiff brush or use a pressure washer on a low, wide-fan setting to reveal the fresh wood beneath.
Step #3: The “Dry and Sand” Phase
This is where the “Weekend” timeline is crucial. You must let the fence dry for at least 24–48 hours after washing. Once dry, the wood will likely feel “fuzzy”—these are raised grain fibers. Use an orbital sander with 80-grit paper to quickly knock these down. This creates a smooth “Instructional Design” for your stain, ensuring it absorbs evenly rather than sitting on top of the fuzz.
Step #4: Masking and Landscape Protection
Stain is permanent, and overspray is a nightmare. Cover nearby plants, grass, and your home’s siding with drop cloths or plastic sheeting. Use painter’s tape to mask off hinges, latches, and any decorative post caps you don’t want colored.
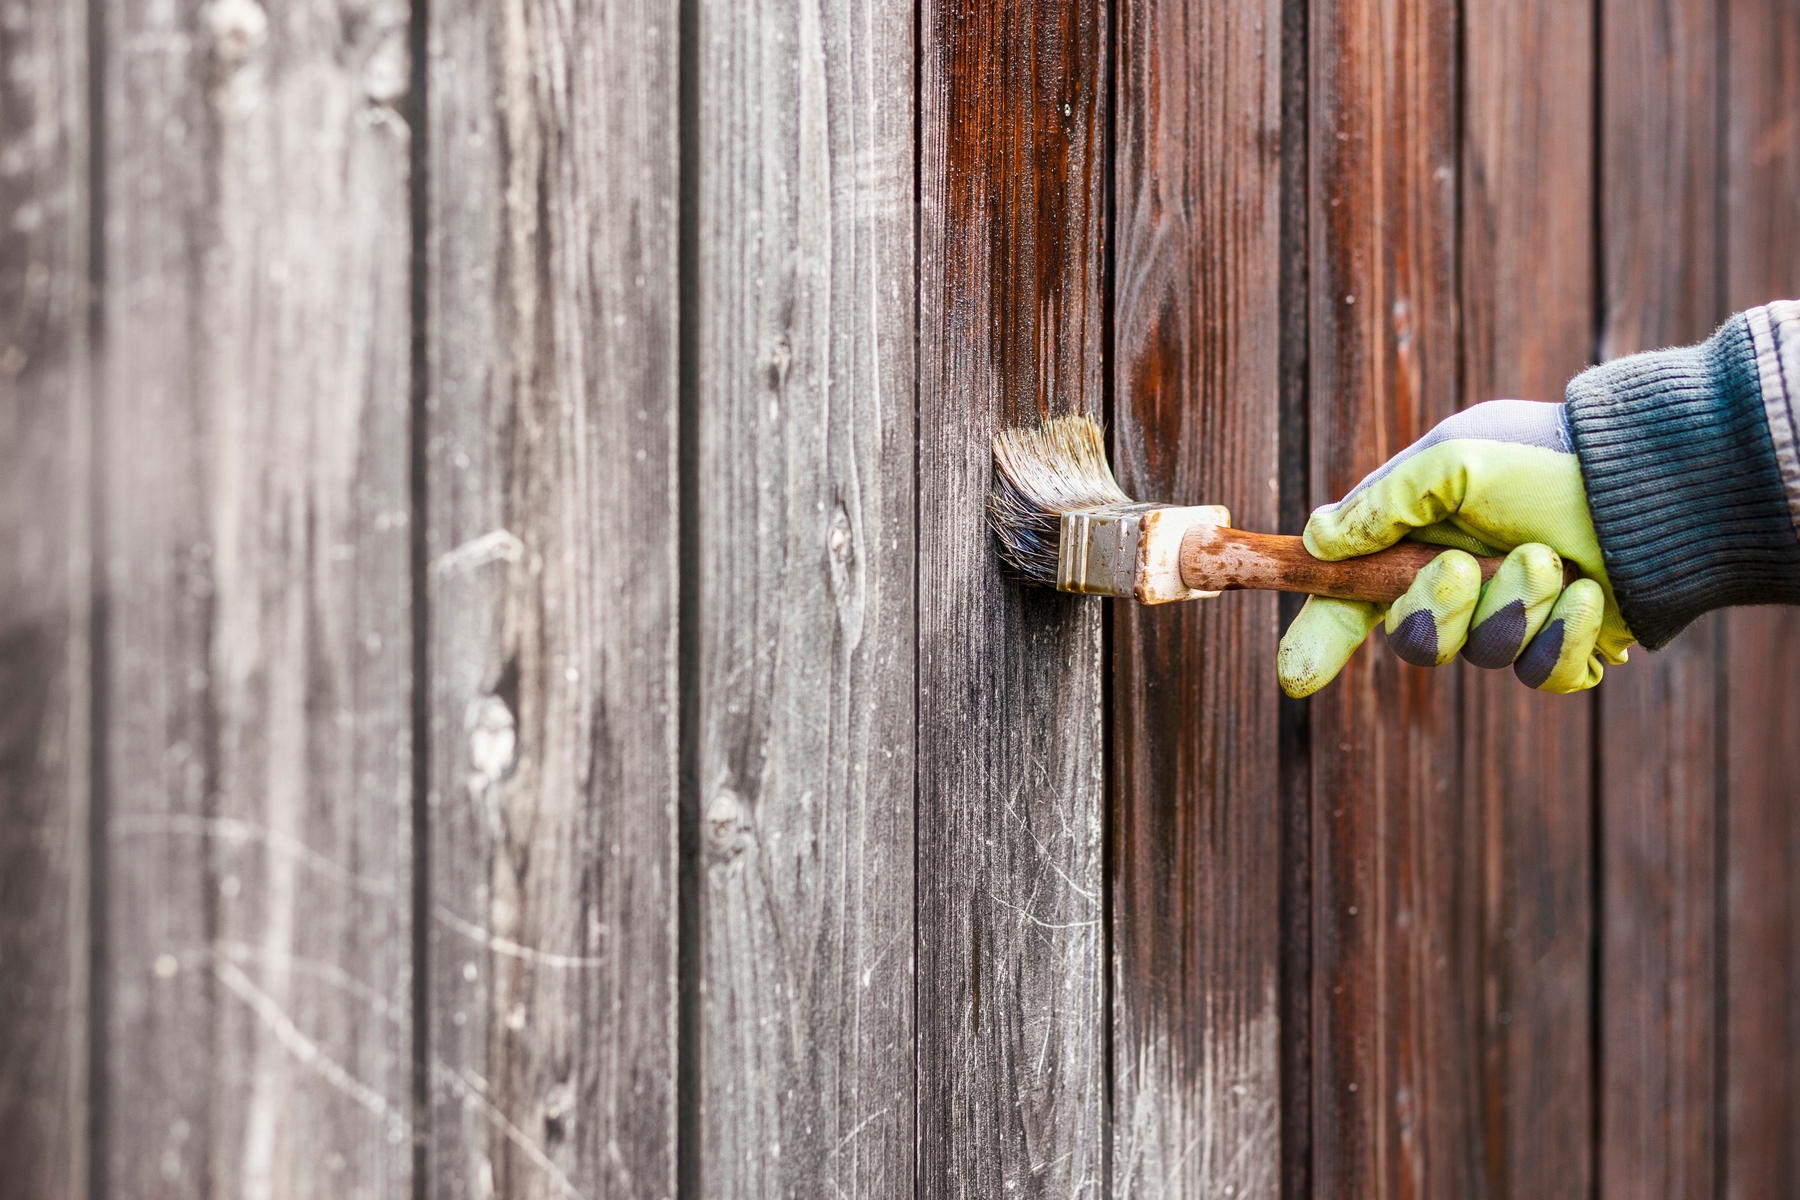
Step #5: Apply the Shield
Whether using a brush, roller, or sprayer, always work from top to bottom. This allows you to catch and smooth out any “drips” before they dry. If using a sprayer, you must “back-brush”—immediately follow the spray with a brush to push the pigment deep into the wood’s pores.
Step #6: The Second Coat and Cure
For the best protection, apply a second coat while the first is still slightly tacky (the “wet-on-wet” method) or as directed by the manufacturer. Allow the fence to cure for a full 48 hours before letting pets or children play near it.
Pro-Tip: The “Shade Timing” Secret
Never stain a fence in direct, mid-day sunlight. The heat will cause the stain to dry too quickly on the surface, preventing it from penetrating the wood and causing unsightly “lap marks.” Aim to follow the shade around your house; work on the west-facing fence in the morning and the east-facing fence in the afternoon. This ensures the wood stays cool enough to “drink” the stain properly.