


Quick Stats of the Project
- Category: 30-Minute Project
- Difficulty: 1.5/5 (Simple drilling or adhesive mounting)
- Tools: Magnetic knife strip kit, Power drill (or heavy-duty adhesive), Level, Pencil, and Painter’s tape.
That bulky wooden knife block is a notorious “countertop hog” and a secret haven for kitchen bacteria. Moving your knives to a magnetic wall strip doesn’t just look professional—it keeps your blades sharper by preventing them from clanking together in a drawer and keeps your most-used tools within arm’s reach while you prep.
Step-by-Step Instructions
Step #1: Plot Your Prep Zone
Select a location that is convenient but safe. Ideally, this is directly above your main cutting board area or near the stove. Ensure it is high enough to be out of reach of children but low enough that you aren’t reaching over high-heat areas.
Step #2: Level and Tape
Place a strip of painter’s tape on the wall where you want the strip to go. Use your spirit level to draw a perfectly horizontal line on the tape. Marking on the tape instead of the wall protects your backsplash from pencil marks and prevents the drill bit from “wandering” or slipping on smooth tile.
Step #3: Mark the Pilot Holes
Most magnetic strips have a backplate that detaches. Hold the backplate up to your level line and mark the screw holes with a pencil. If you are mounting onto a tile backsplash, you will need a diamond-tipped masonry bit; if it’s just drywall, standard bits will work.
Step #4: Drill and Anchor
Drill your pilot holes. If you aren’t hitting a stud, push in the plastic wall anchors provided in your kit. These anchors are essential; a strip full of heavy chef’s knives creates a significant “pull” on the wall, and anchors prevent the strip from eventually sagging or pulling out.
Step #5: Secure the Backplate
Screw the backplate into the wall anchors until it is flush and immovable. Snap the magnetic cover plate over the bracket. Most high-end strips use powerful rare-earth magnets that will “snap” the cover into place with significant force, so keep your fingertips clear of the edges!
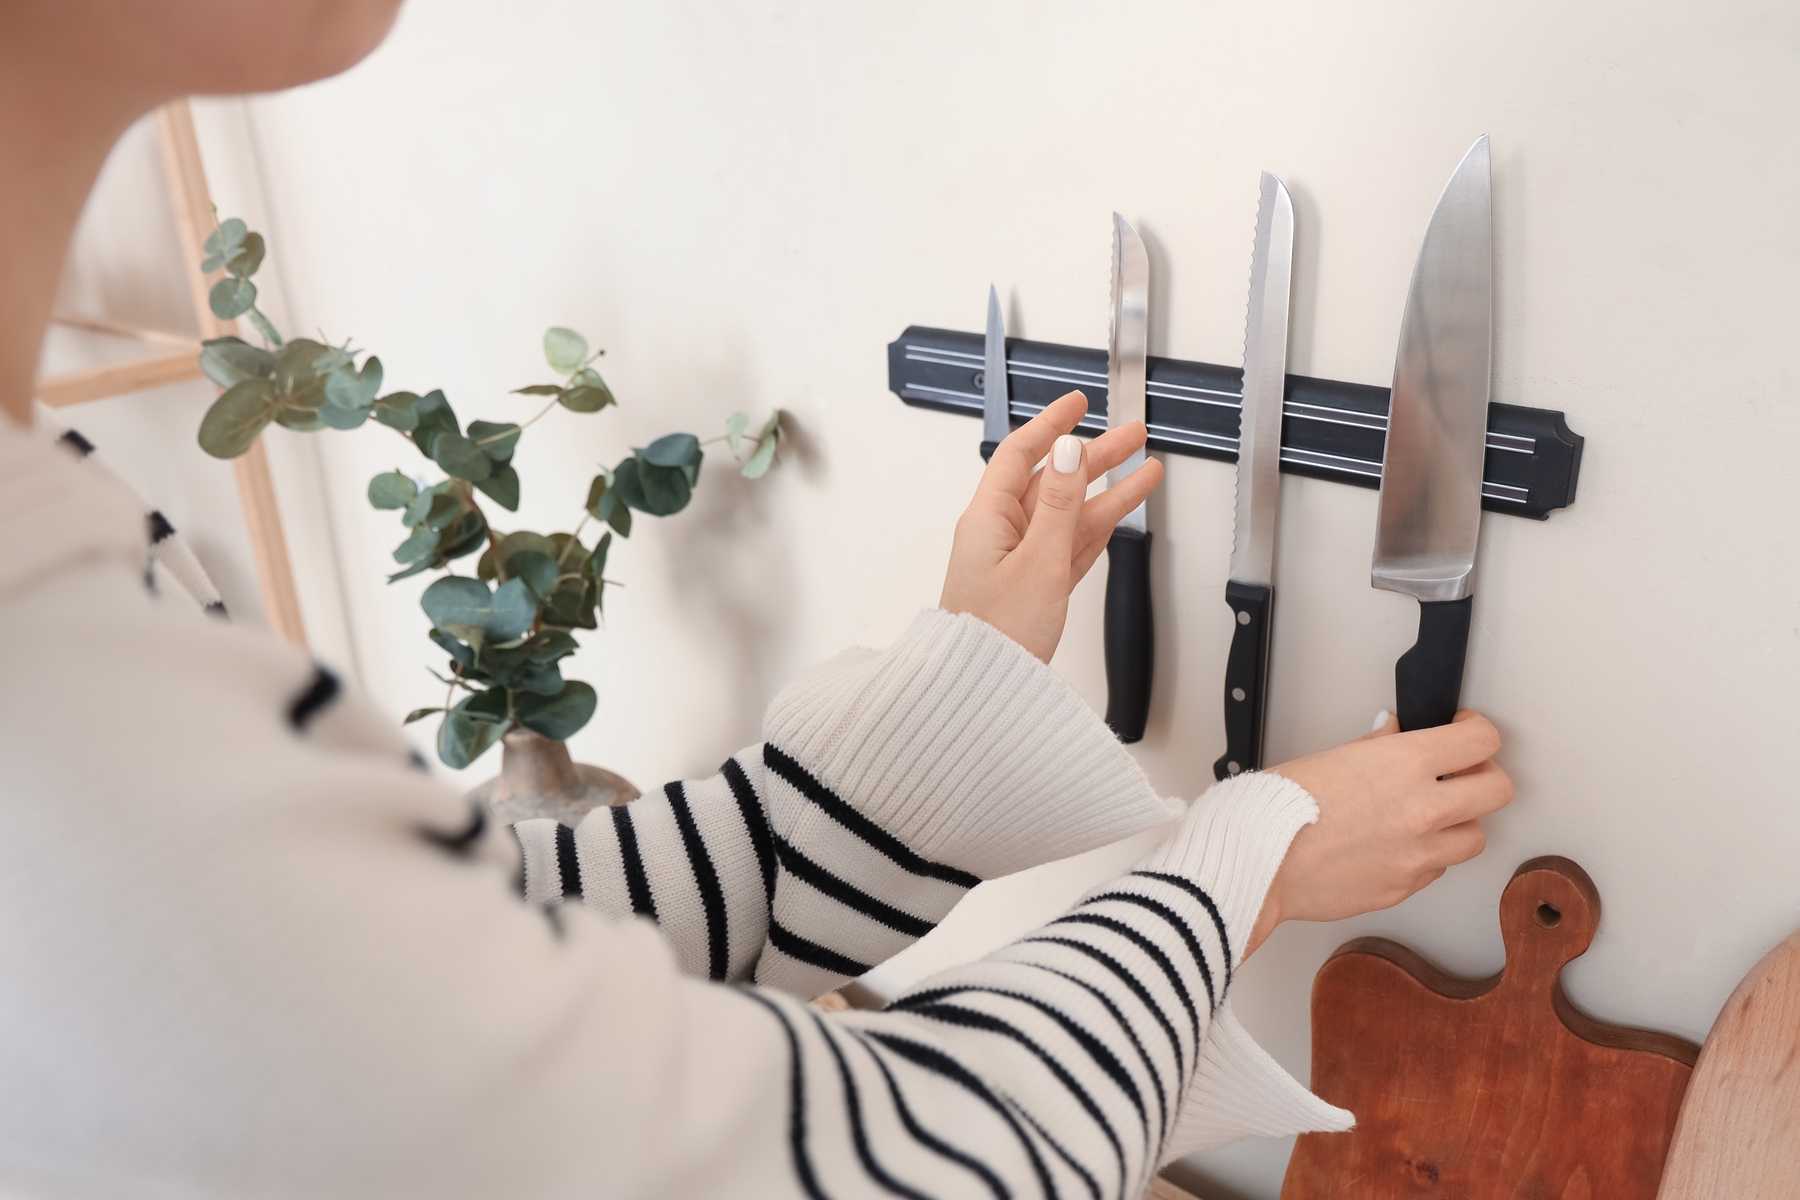
Step #6: The Knife Load-In
When placing your knives, always lead with the spine (the back) of the knife rather than the sharp edge. Let the magnet grab the flat side of the blade. This prevents the magnet from “nicking” your sharpened edge over time.
Pro-Tip: The “Pivot” Technique
To safely remove a knife from a strong magnetic strip, don’t pull it straight toward you. Instead, twist or pivot the handle so the spine stays in contact with the strip while the sharp edge lifts away first. This breaks the magnetic seal with much less effort and ensures you maintain total control over the blade as it comes off the wall.