Quick Stats of the Project
- Category: Weekend Project
- Difficulty: 3/5 (Intermediate)
- Tools: Circular saw (or miter saw), Power drill, 2-inch exterior wood screws, Tape measure, Speed square, and Sandpaper (80 grit).
Custom planter boxes allow you to control your soil quality and save your back from excessive bending while gardening. By building them yourself from cedar or redwood, you get a high-end look for a fraction of the retail price while ensuring your plants have the perfect drainage environment.
Step-by-Step Instructions
Step #1: Plan Your Cut List
For a standard 2′ x 4′ planter, you will need to cut your lumber into four long side pieces (48 inches) and four short end pieces (21 inches). Use a speed square to mark your lines perfectly at 90 degrees; a crooked cut here will make the entire box wobbly and difficult to assemble.
Step #2: Fabricate the Corner Cleats
Instead of “butt-jointing” the corners, cut four 2×2 blocks to the height of your side walls. These “cleats” sit inside the corners and act as the backbone of the structure. They provide a much larger surface area for your screws to bite into, preventing the box from bowing outward once filled with heavy, wet soil.
Step #3: Pre-Drill for Precision
Cedar and redwood are beautiful but prone to splitting near the ends. Use a 1/8-inch drill bit to create pilot holes through your side boards and into the corner cleats. This “Instructional Design” approach to prep work ensures your wood doesn’t crack under the pressure of the screws.
Step #4: Assemble the Frame
Apply a bead of exterior-grade wood glue to the cleats, then drive your 2-inch screws through the pilot holes. Assemble the two long sides first, then connect them with the shorter end pieces. Use your speed square in every corner as you tighten to ensure the box is a perfect rectangle.
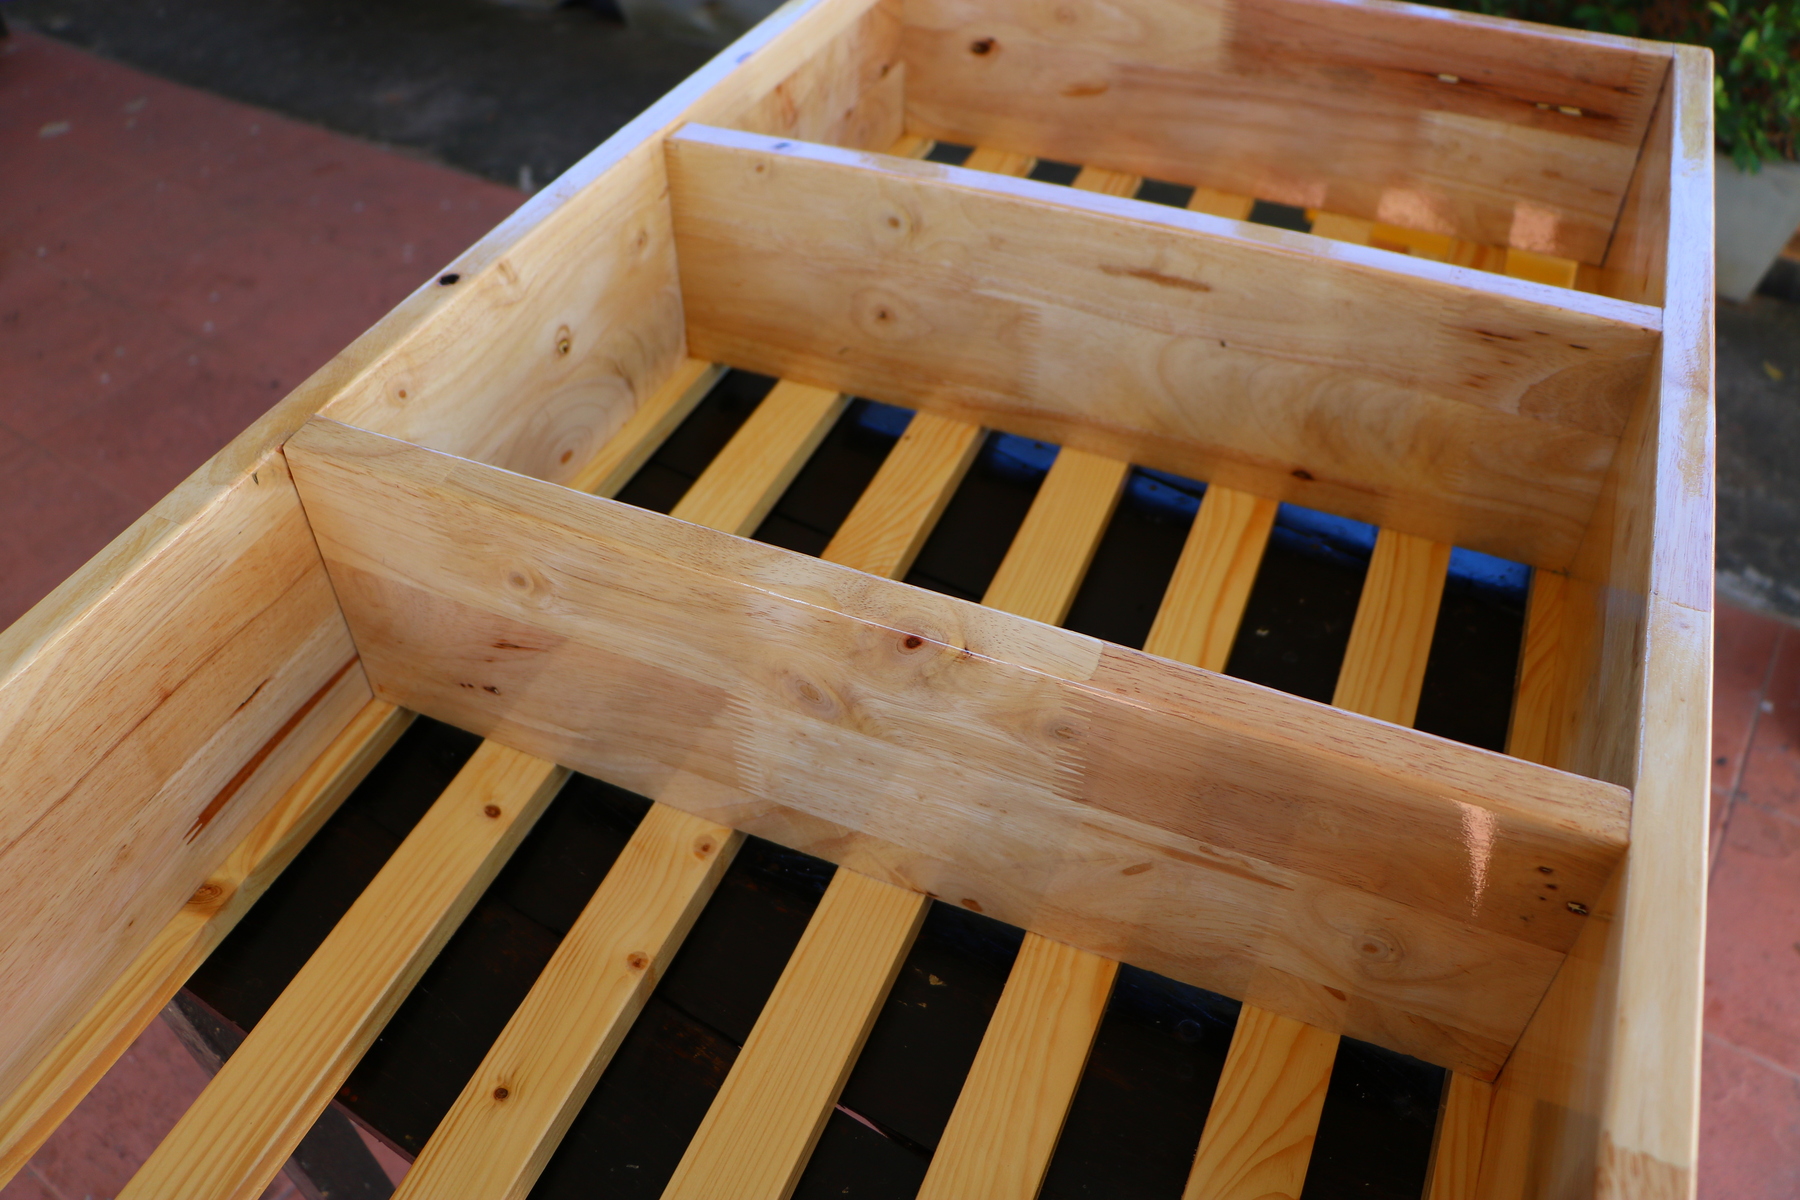
Step #5: Install the Floor and Drainage
Measure the internal dimensions and cut your floor slats. Leave a 1/4-inch gap between each bottom board. This gap is vital for drainage; without it, the soil will stay saturated, leading to root rot and a premature “blowout” of the wooden walls.
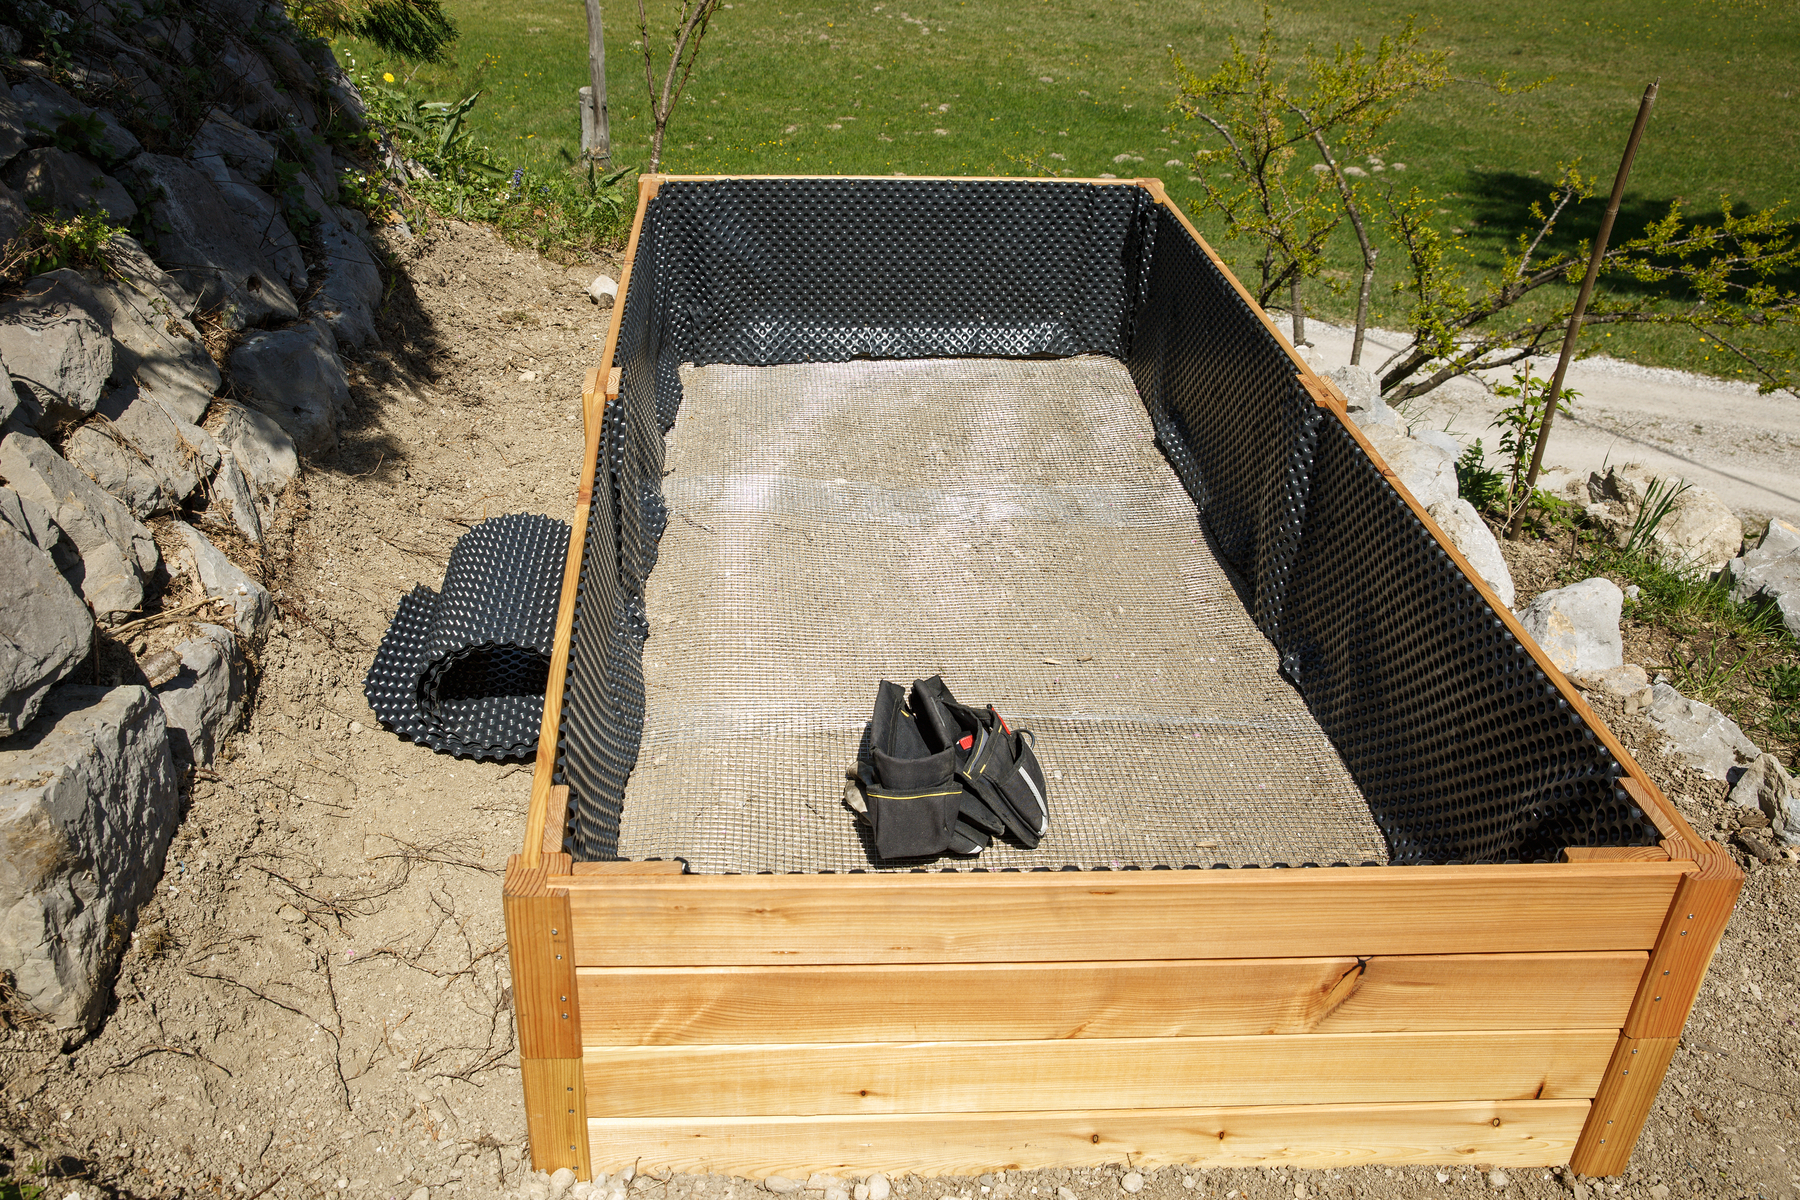
Step #6: Final Sanding and Lining
Sand down the top edges with 80-grit sandpaper to prevent splinters when you are gardening later. For maximum longevity, staple a layer of landscape fabric to the inside of the box. This keeps the soil in place while allowing excess water to filter out through the gaps.
Pro-Tip: The “Untreated” Rule
If you are planning to grow vegetables or herbs, only use “Heat Treated” (marked as HT) or naturally rot-resistant wood like Cedar. Avoid standard “Pressure Treated” lumber from the big-box stores, as older versions can leach copper and other chemicals into your soil and, eventually, your food.