
Quick Stats of the Project
- Category: 30-Minute Project
- Difficulty: 2/5 (Requires steady hands for alignment)
- Tools: Peel-and-stick tile sheets, Utility knife or heavy-duty scissors, Metal ruler, Level, Degreasing cleaner (like TSP or dish soap).
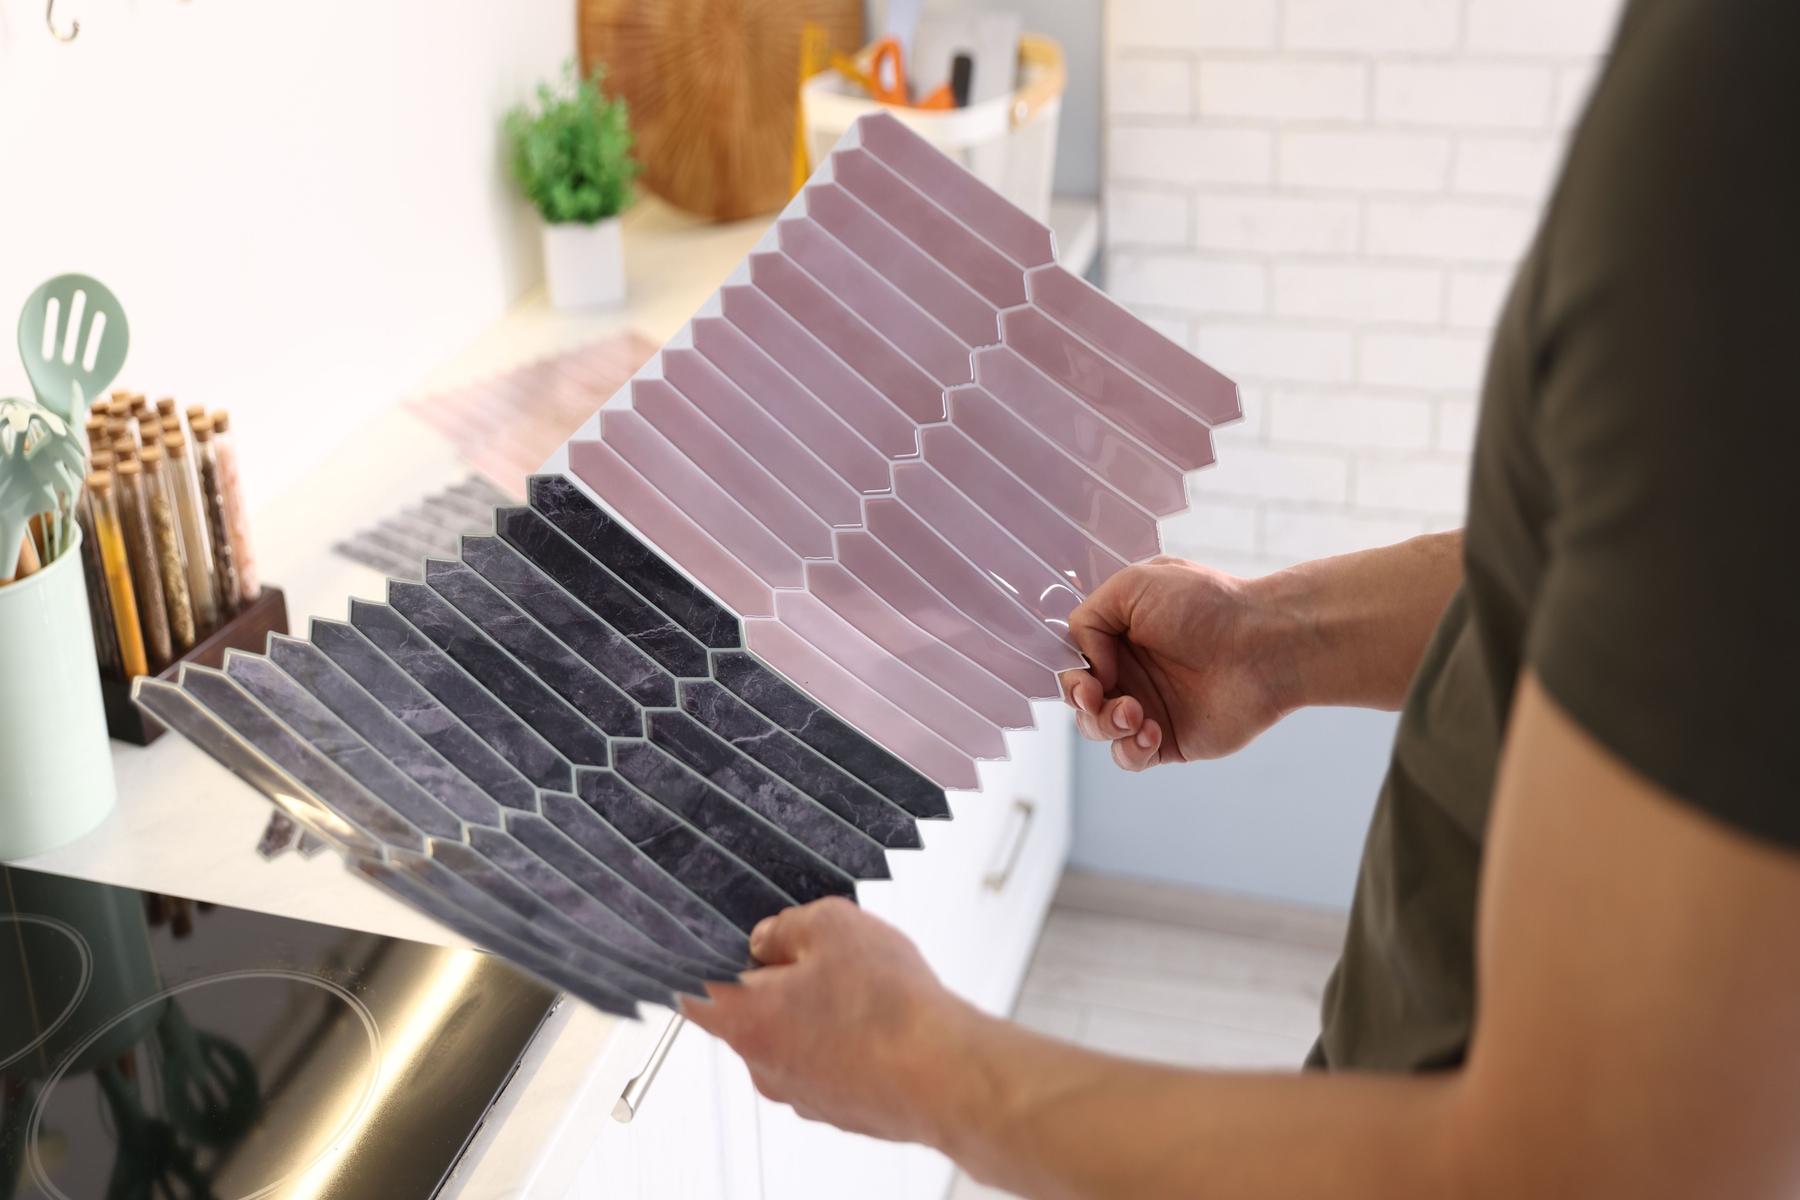
Kitchen backsplashes take a beating from grease, steam, and water, often leaving walls looking dingy. Peel-and-stick tiles offer a high-end, waterproof aesthetic upgrade without the mess of mortar, grout, or heavy power tools, making them the ultimate solution for renters and quick weekend refreshes.
Step-by-Step Instructions
Step #1: Deep Clean the Surface
Adhesive tiles will only stick to a surface that is bone-dry and free of oils. Scrub your existing wall or backsplash area with a degreasing cleaner to remove cooking splatter. Rinse with a damp cloth and wait at least 10 minutes for the wall to dry completely before proceeding.
Step #2: Map Your First Row
Use a level and a pencil to draw a faint horizontal line where the bottom of your first row will sit. Most countertops are not perfectly level; following a drawn line instead of the counter ensures your tile pattern doesn’t look “crooked” once you reach the top of the wall.
Step #3: Measure and Trim
Measure the width of the area you are tiling. Use a metal ruler and a utility knife to score the front of the tile sheet. If the material is thick, you may need to make multiple passes or use heavy-duty scissors to cut out holes for electrical outlets.
Step #4: Peel and Align
Remove the first two inches of the adhesive backing—do not peel the whole thing off at once. Align the top edge of the tile sheet with your level line. Gradually peel the rest of the backing away as you smooth the tile onto the wall from the center outward to prevent air bubbles.

Step #5: Lock the Interlocking Edges
Most peel-and-stick tiles are designed with “tabs” that overlap. When placing the next sheet, ensure the grout lines of the new sheet sit directly on top of the tabs of the previous sheet. Press firmly for 30 seconds across the entire surface to activate the pressure-sensitive adhesive.
Pro-Tip: The “Hairdryer” Heat Hack
If you are applying tiles to a wall with a slight texture, the adhesive might struggle to grip. After the tiles are on the wall, run a hairdryer on a “medium” heat setting over the surface for 60 seconds. The heat softens the adhesive, allowing it to flow into the wall’s texture for a permanent, rock-solid bond that won’t peel at the corners.