

Touchless faucets aren’t just for 5-star hotels anymore. With sensor technology now available at an affordable price, swapping your old bathroom faucet for a touchless model is one of the smartest small upgrades you can make, and it fits comfortably inside a two-hour window.
Why Touchless Is Worth It
Beyond the cool factor, touchless faucets reduce cross-contamination, cut water waste, and give your bathroom an instant modern edge. Most models operate on batteries or a low-voltage power adapter, and virtually all are designed for standard DIY installation.
What You’ll Need
- Touchless faucet kit
- Adjustable wrench
- Basin wrench
- Plumber’s putty or silicone sealant
- Bucket and old towels
- Flashlight or headlamp
How to Do It
Step 1 — Shut Off the Water

Turn the shut-off valves under the sink clockwise until fully closed. Open the old faucet to release pressure and let the lines drain before you disconnect anything.
Step 2 — Remove the Old Faucet
Place a bucket under the P-trap to catch drips. Disconnect the hot and cold supply lines, then loosen the mounting nut beneath the sink. Lift the old faucet out and wipe the sink surface clean and dry.
Step 3 — Install the New Faucet

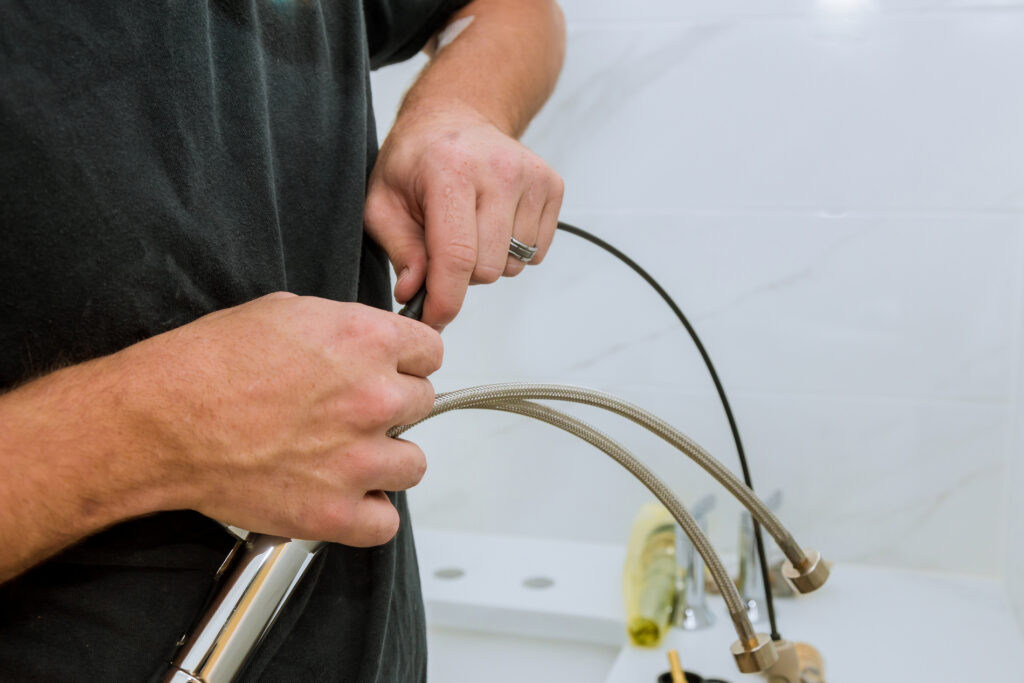
Feed the supply lines and sensor cable down through the mounting hole. Apply plumber’s putty or silicone around the base if your model requires it, then set the faucet in position and hand-tighten the mounting nut from below.
Step 4 — Connect the Lines and Power
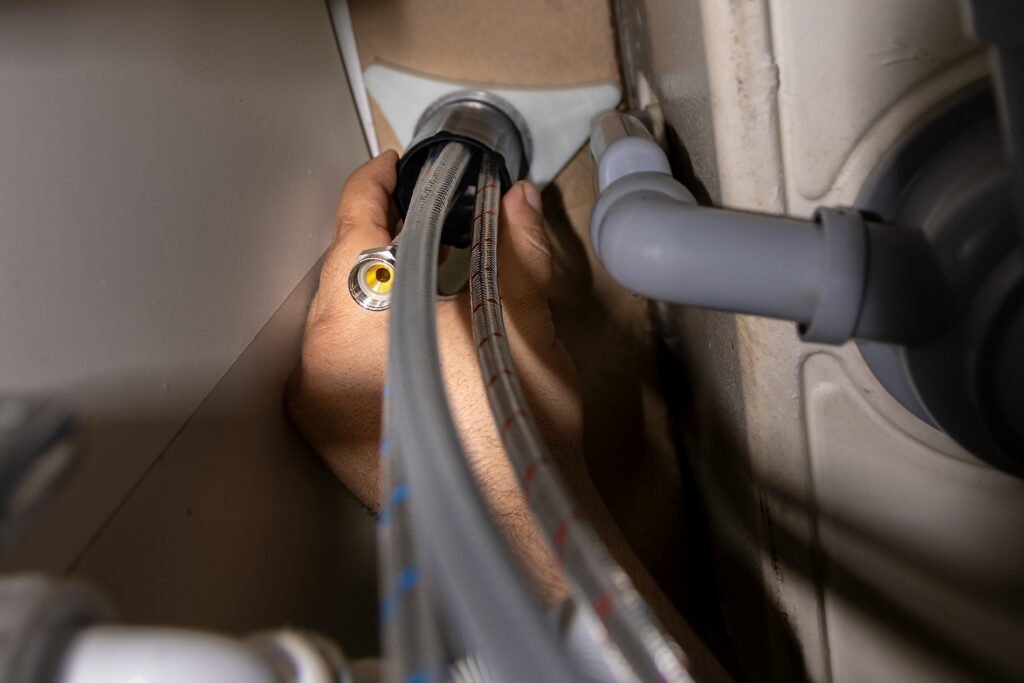
Attach the hot and cold lines to the corresponding shut-off valves — snug but not overtightened. Connect the battery pack or power adapter to the sensor module as shown in your manual.
Step 5 — Test and Adjust
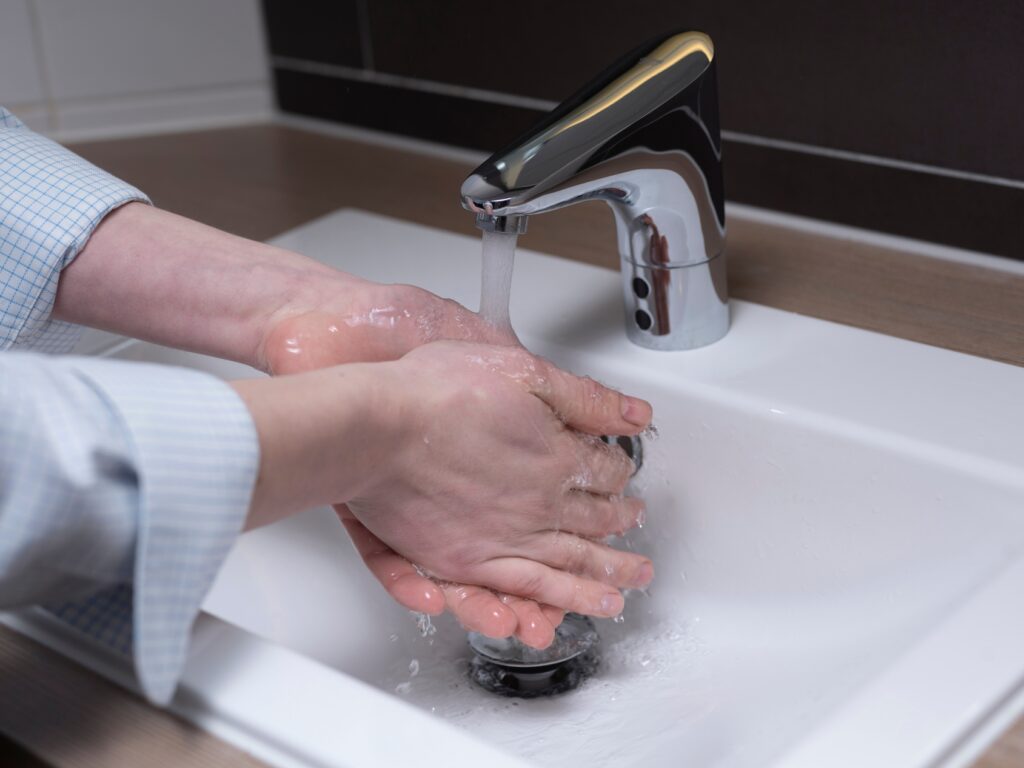
Slowly reopen the shut-off valves. Wave your hand in front of the sensor to trigger the flow. Check all connections for drips and tighten anything that seeps. Adjust the sensor sensitivity range if your model supports it.
A Few Tips Before You Wrap Up
Choose a finish that coordinates with your existing hardware. If your sink has extra holes from a previous multi-piece faucet set, pick up a matching deck plate to cover them cleanly. Keep your manual handy, too; sensor calibration steps vary by brand.