


Quick Stats of the Project
- Category: 30-Minute Project
- Difficulty: 2/5 (Requires careful leveling)
- Tools: French cleat kit (aluminum or wood), Power drill, Spirit level, Tape measure, Pencil, and Wall anchors.
Standard wire-and-hook hanging methods concentrate all the weight of a heavy mirror onto one or two tiny points, which can lead to sagging or, worse, a shattered mess on the floor. A French cleat works on a 45-degree interlocking system that distributes the weight across the entire width of the bracket, making it the safest professional method for mirrors weighing 50 pounds ($22.7$ kg) or more.
Step-by-Step Instructions
Step #1: Attach the “Object” Cleat
Unpack your kit. You will have two identical interlocking rails. Position one rail on the back of your mirror frame, near the top. Ensure it is perfectly centered. Use the provided short screws to secure it into the frame—be careful not to use screws so long that they poke through the front of your mirror!
Step #2: Map the Wall Height
Decide exactly where you want the top of the mirror to sit. Measure from the top of the mirror to the bottom lip of the cleat you just installed. Transfer that measurement to the wall with a pencil mark. This is where the top edge of your wall cleat will sit.
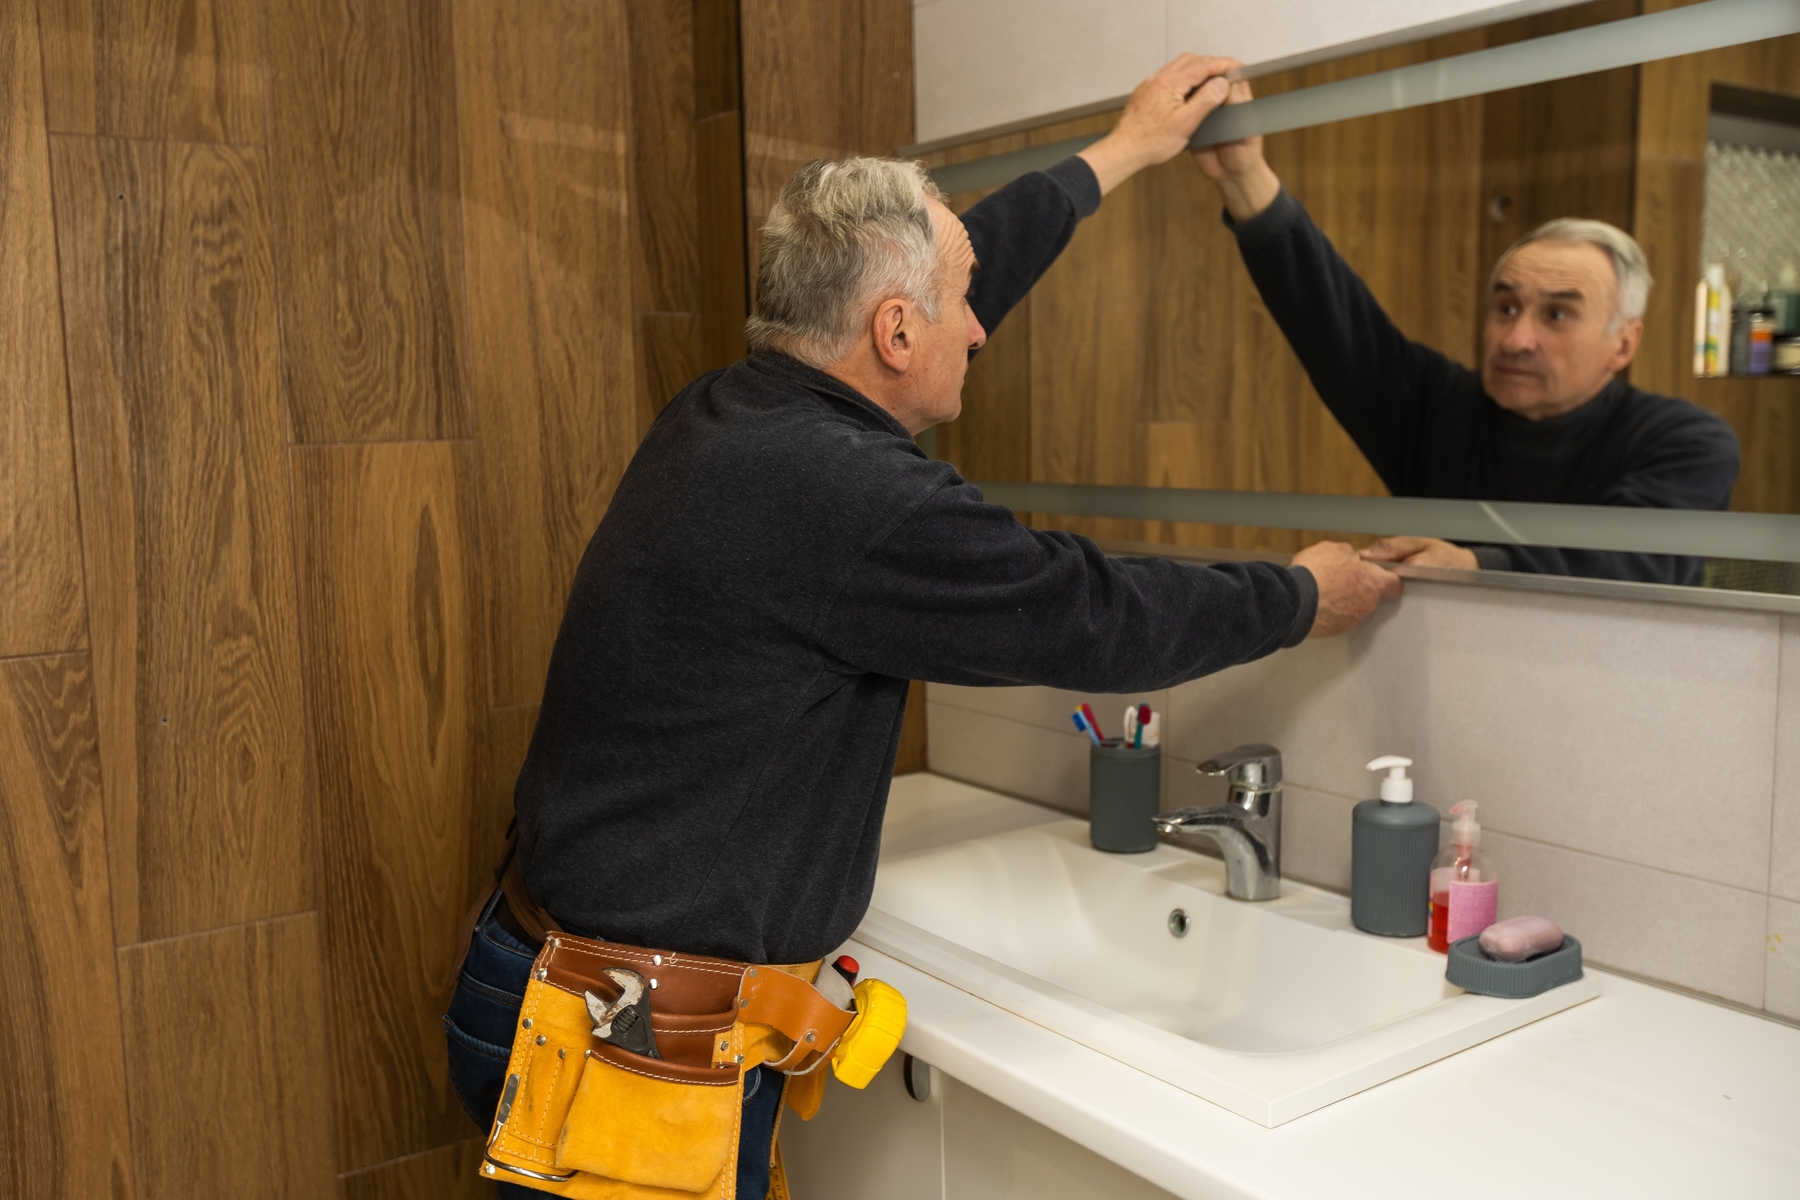
Step #3: Level the Wall Bracket
Hold the second rail against the wall. This is the most critical step: place your spirit level on top of the rail. Even a 1/8-inch tilt will be amplified across the width of a large mirror. Once it’s perfectly level, mark the screw holes through the bracket onto the wall.
Step #4: Secure to the Structure
If your marks align with a wall stud, drive your screws directly into the wood. For all other holes, use the heavy-duty toggle bolts or anchors included in the kit. French cleats are powerful because they allow you to use multiple anchor points, spreading the load across a wider section of your drywall.
Step #5: The “Slide and Lock” Reveal
Lift the mirror slightly above the wall bracket and slowly lower it until the two 45-degree angles interlock. You should feel a satisfying “thud” as the mirror seats into the cleat. Slide the mirror left or right to perfectly center it—the cleat system allows for easy horizontal adjustment even after it’s hung!
Pro-Tip: The “Bumper” Secret
Because the French cleat adds about 1/4 inch of depth, the top of your mirror will sit slightly further away from the wall than the bottom, causing it to tilt downward. To keep it perfectly flush and prevent it from “clacking” against the wall, stick two small adhesive rubber bumpers to the bottom two corners of the mirror’s back. This balances the depth and keeps your mirror perfectly parallel to the wall.